CMS
This page walks you through the process of content administration. This feature allows you to display native content that is remotely administrated in Strapi CMS.
The core of the feature relies on the concept of Dynamic Zone in Strapi. A dynamic zone is made of instances of pre-defined components in Strapi.
Flex Storefront contains the Flex UI counterpart for each of these components, allowing administrators to quickly and easily declare app content that will be shown in the app.
Prerequisites
- Basic understanding of Flutter development.
- Access to a Strapi CMS instance with the Flex components declared.
- Flutter development environment set up.
Content declaration
- In the Strapi console, open Content-Type Builder, then in the secondary menu: Create new single type
- Give it a name (ex: “Homepage”) and validate.
- Define a field of type Dynamic zone named “content”
- Click on “Add components to the zone” then “Use an existing component”
- Select all the components from the list and hit “Finish”, then “Save” (the Strapi instance is restarting)
- Go the “Content Manager” section and select the Single Type content newly created (ex: “Homepage”)
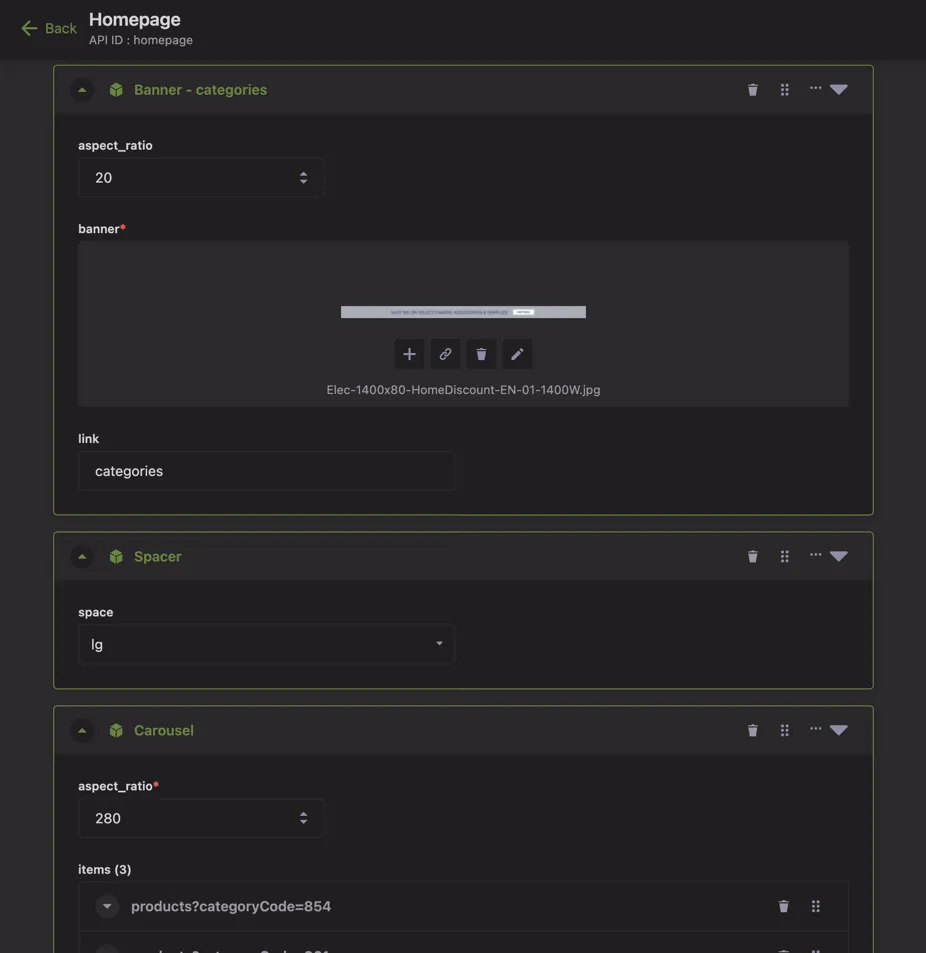
- Build your content by declaring instances of the available components. Example:

Flutter implementation
Flex Storefront provides a default widget renderer for each component:
| Model | Widget | Example |
|---|---|---|
| SpacerData | SizedBox | / |
| HeaderData | Text |  |
| BannerData | SelectableImage |  |
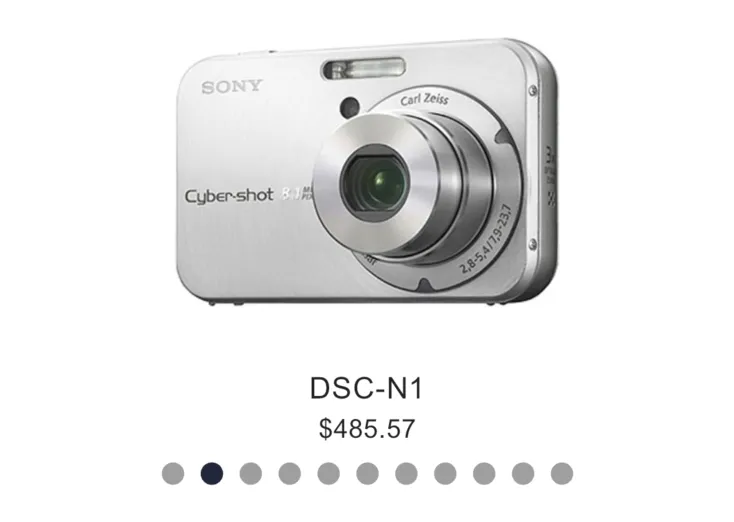
| CarouselData | FlexCarousel |  |
| ProductCarouselData | FlexCarousel + ProductListCubit |  |
Steps
- In the page containing the CMS content, declare a
BlocProviderand instantiate aCmsCubit, the cubit needs the code of the single type. It is the API ID shown in the Strapi admin console (with our example:homepage):
BlocProvider<CmsCubit>( create: (_) => CmsCubit('homepage')..loadContent(), child: ...,)- Define a
BlocBuilder<CmsCubit, CmsState>at the location you want the content to be displayed. Thestatevariable contains a list ofCmsDatamodel instances, one for each component that has been declared in Strapi admin console. Flex Storefront provides a default widget renderer for each component:
BlocBuilder<CmsCubit, CmsState>(  builder: (_, state) {    final widgets = sections.map((section) {      return CmsHelper.render(section);    }
return ListView( children: widgets; ); },)- For more customization, it is possible to define your own custom widget(s):
BlocBuilder<CmsCubit, CmsState>(  builder: (context, state) {    final widgets = sections.map((section) {      if (section is BannerData) {        // Declare your own "banner" widget here        return MyCustomClickageImage(          url: section.media.url,          onTap: () => context.router.navigateTo(section.link),        );      } else {        return CmsHelper.render(section);      }    }
    return ListView(      children: widgets;    );  },)
